Chicago Field Trip Photo Editing
Directions
Edit 5 of your best photos from our Chicago Field trip in Adobe Camera Raw and Photoshop. Follow the steps below to complete your edits. If you did not go on the filed trip you may take photos to edit from the following folder: G drive (Graphics) > Stock Images > Chicago Field Trip.
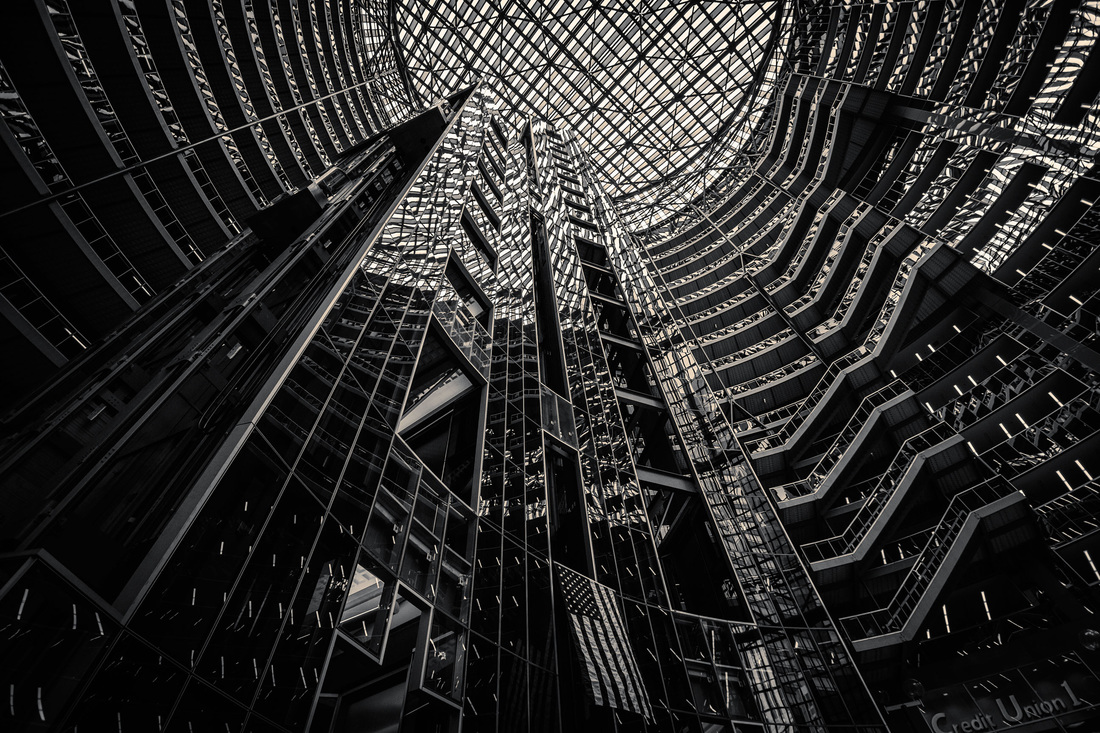
1 of these 5 photos MUST be Black and White. You can have more than black and white image if you wish.
Remember to use other techniques like Vignetting (darkening of the edges) and Sharpening of the photo as well.
Save these 5 edited photos to your Google Drive.
Turn in edited photos to the Google Classroom site when finished.
Edit 5 of your best photos from our Chicago Field trip in Adobe Camera Raw and Photoshop. Follow the steps below to complete your edits. If you did not go on the filed trip you may take photos to edit from the following folder: G drive (Graphics) > Stock Images > Chicago Field Trip.
1 of these 5 photos MUST be Black and White. You can have more than black and white image if you wish.
Remember to use other techniques like Vignetting (darkening of the edges) and Sharpening of the photo as well.
Save these 5 edited photos to your Google Drive.
Turn in edited photos to the Google Classroom site when finished.
Step 1
- Open Adobe Bridge and find your folder of photos from Chicago
- Right click on the photo and select open in Adobe Camera Raw
- Fix the White Balance with the dropper tool
Step 2
Tweak the Exposure & Contrast
Tweak the Exposure & Contrast
- The Exposure slider adjusts the exposure overall. Don't overthink this slider you are just going to make the image brighter or darker. If you drag it to the left it's darker and if you drag it to the right it's brighter.
- The biggest thing I see in images today for post-processing is that the images are flat. Go to the Contrast slider and drag it to the right if you're exposure is pretty close. This is your secret to increasing the overall look of the image.
Step 3
Fix Shadow and Highlight Problems
Shadows
Fix Shadow and Highlight Problems
Shadows
- If your image has some areas that are too dark you may need to fix them though the Shadows Slider.
- Darken the shadows by dragging to the right
- Open up the shadows rather than darkening them by dragging the slider to the left.
- There are times that I use the Highlights Slider.
- If you want brighter highlights drag to the right
- If you want highlights for a sky to be more dramatic drag it to -100
Step 4
Fine Tuning Blacks & Whites
Blacks
Fine Tuning Blacks & Whites
Blacks
- When the image is washed out (very dull) and flat looking, the Blacks Slider can bring back color and detail.
- Adjust the Whites Slider in the image to increase the brightest highlights in the photo.
Step 5
Add Clarity and Vibrance
The Clarity Slider looks great on images with texture looks great in pictures buildings, anything with some texture.
Add Clarity and Vibrance
The Clarity Slider looks great on images with texture looks great in pictures buildings, anything with some texture.
Step 6
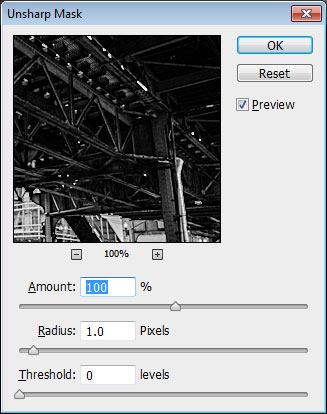
Open the photo in Photoshop and adjust the image further with Dodging and Burning, and Sharpening with Filter > Sharpening > Unsharp Mask
Open the photo in Photoshop and adjust the image further with Dodging and Burning, and Sharpening with Filter > Sharpening > Unsharp Mask
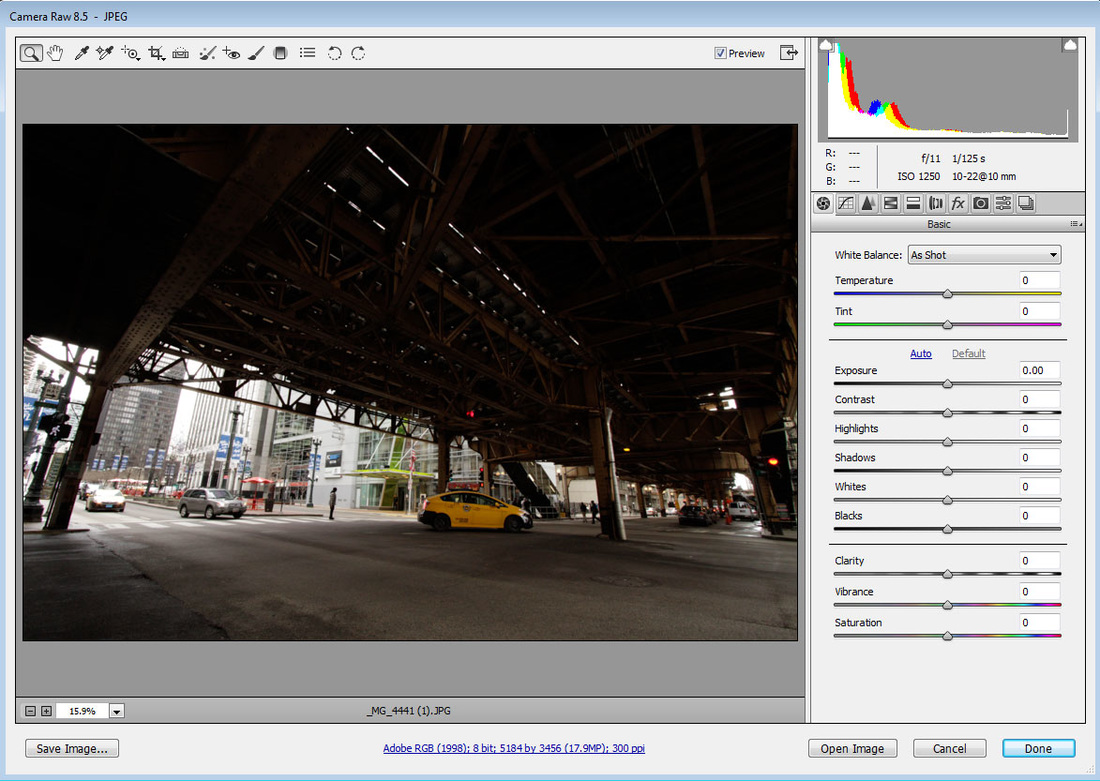
Before - Straight out of camera in Adobe Camera Raw
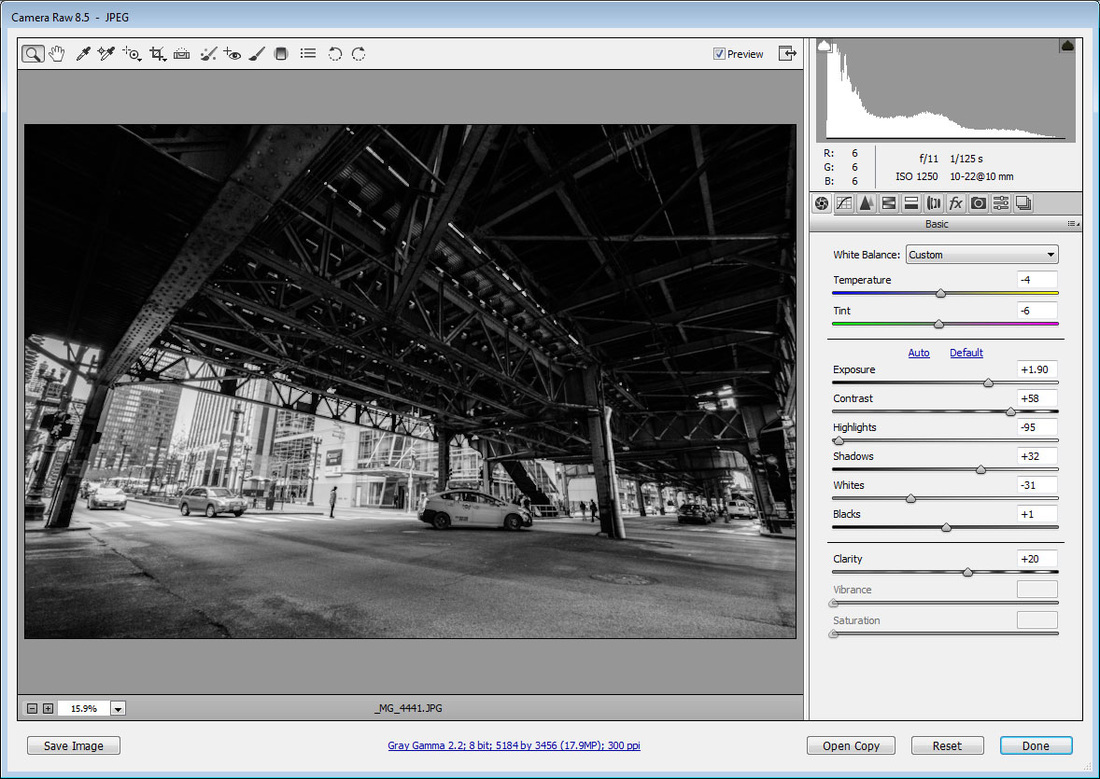
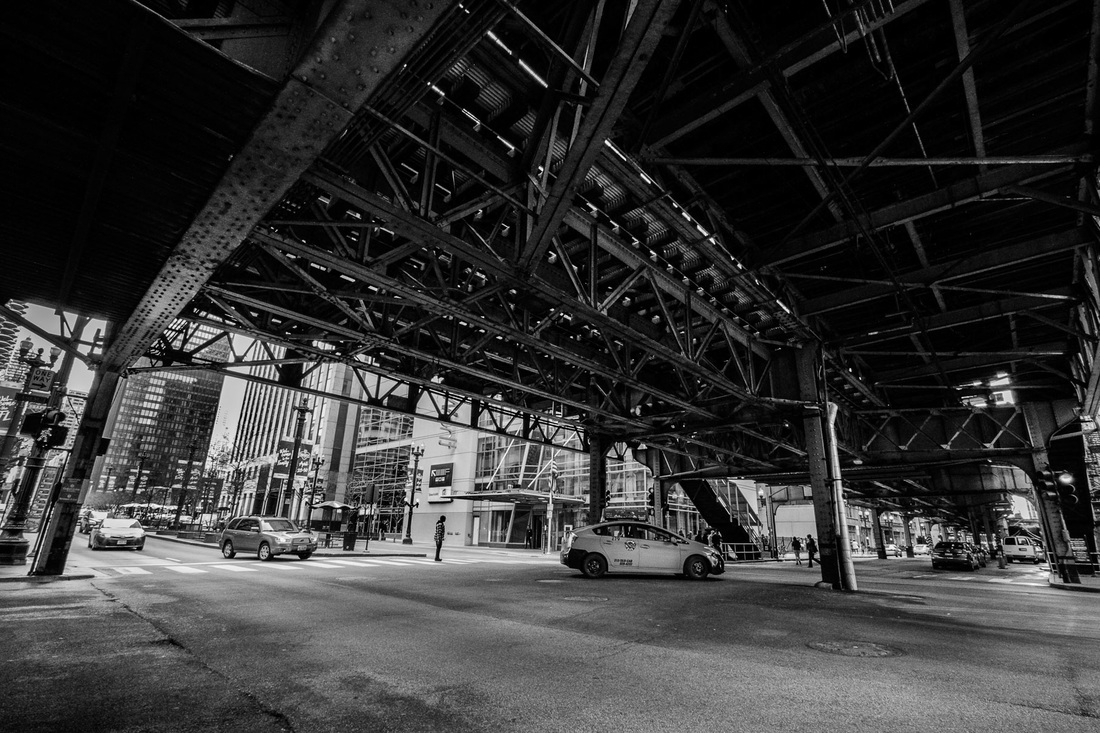
After - using the above steps and converting to Black and White (see link if you want to convert to B & W photo)
Finished - Opened in Photoshop - Sharpening with Unsharp Mask filter and Dodging and Burning done on the photo
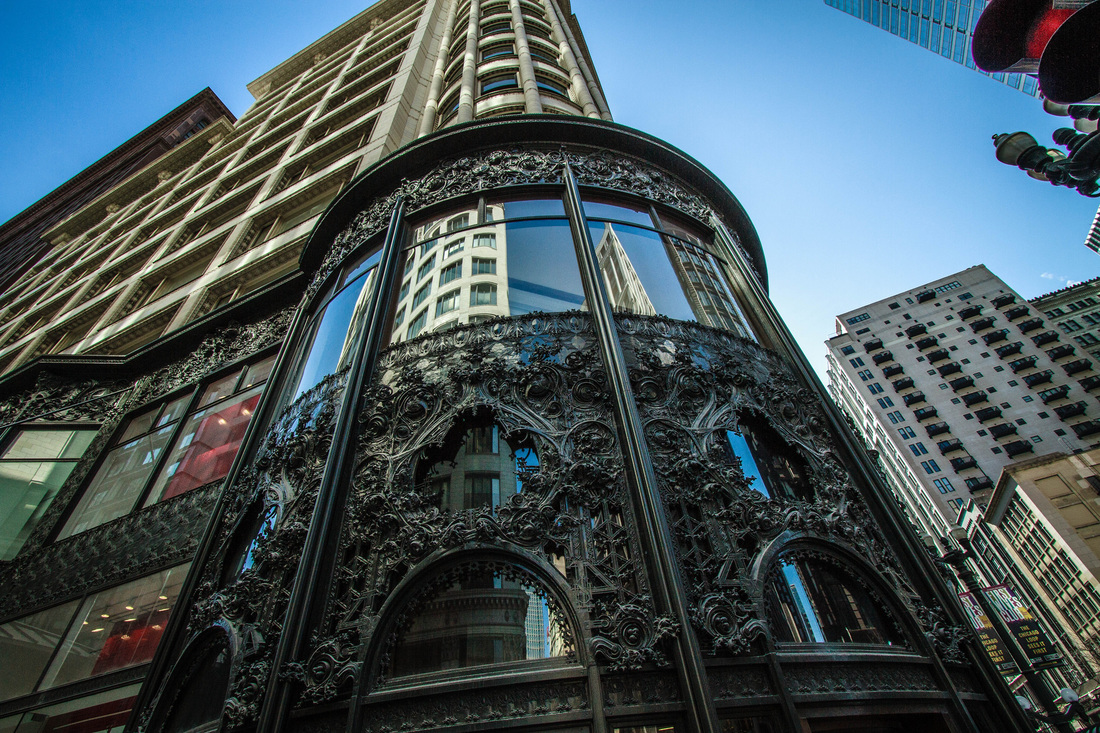
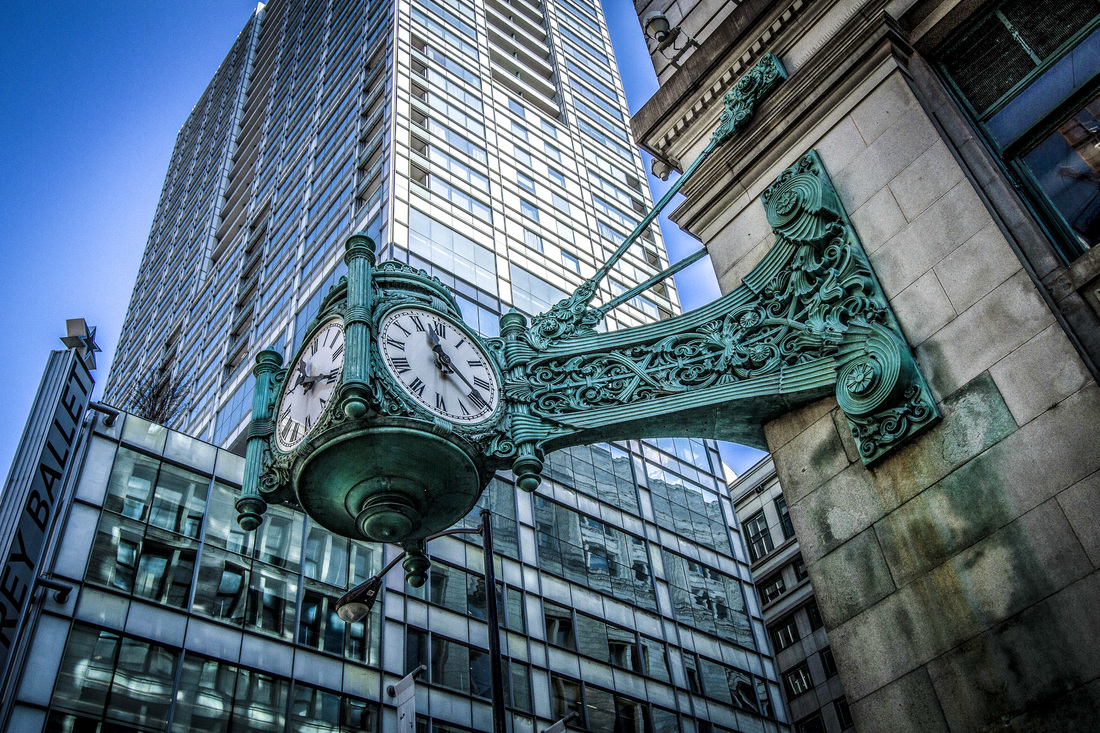
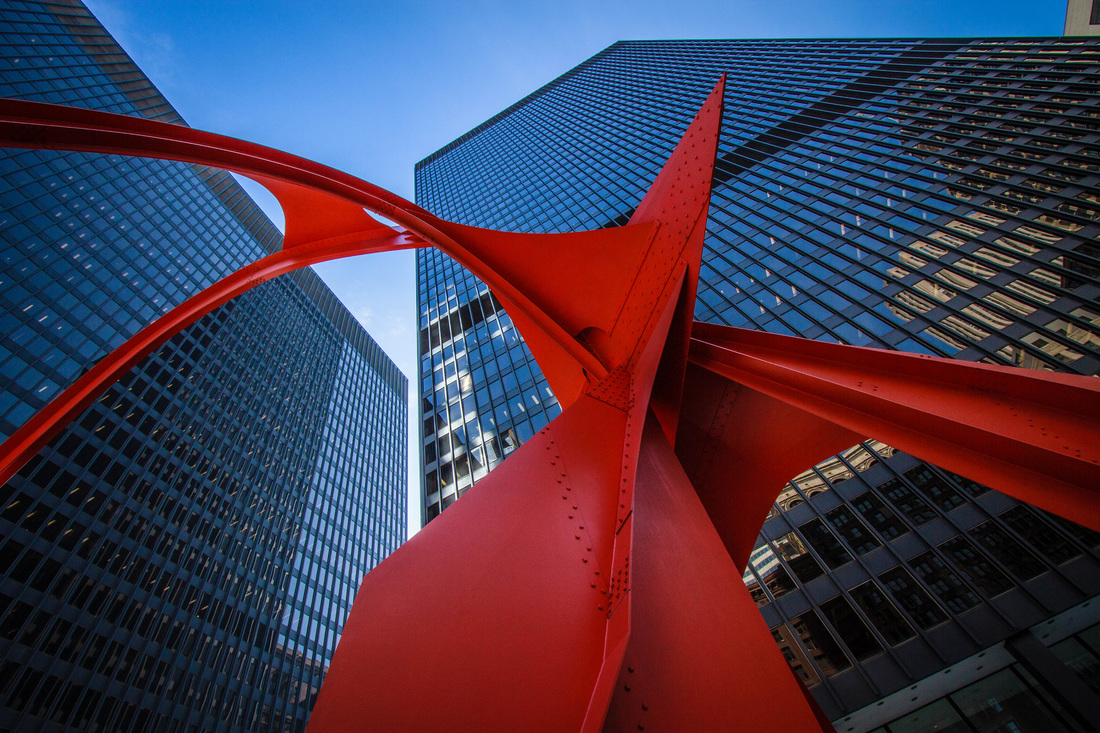
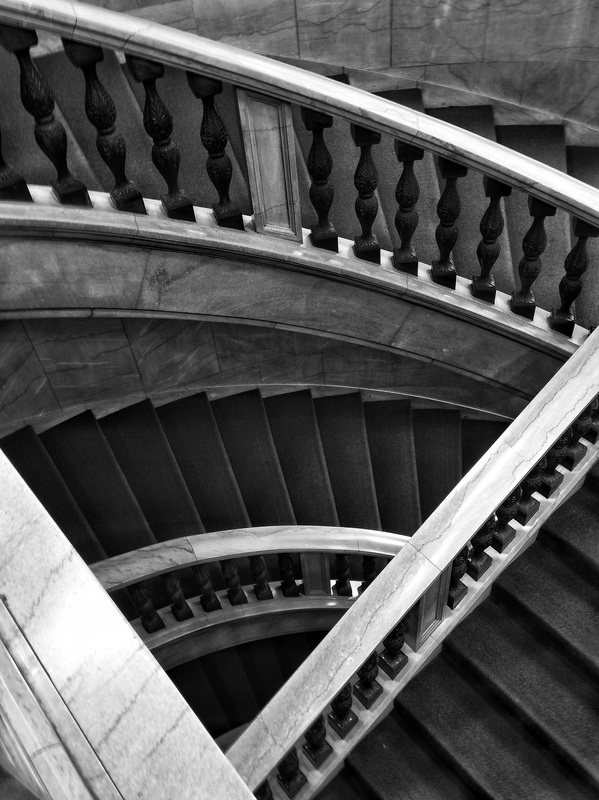
Examples (5 edited photos)