HDR (High Dynamic Range) Photography
Directions
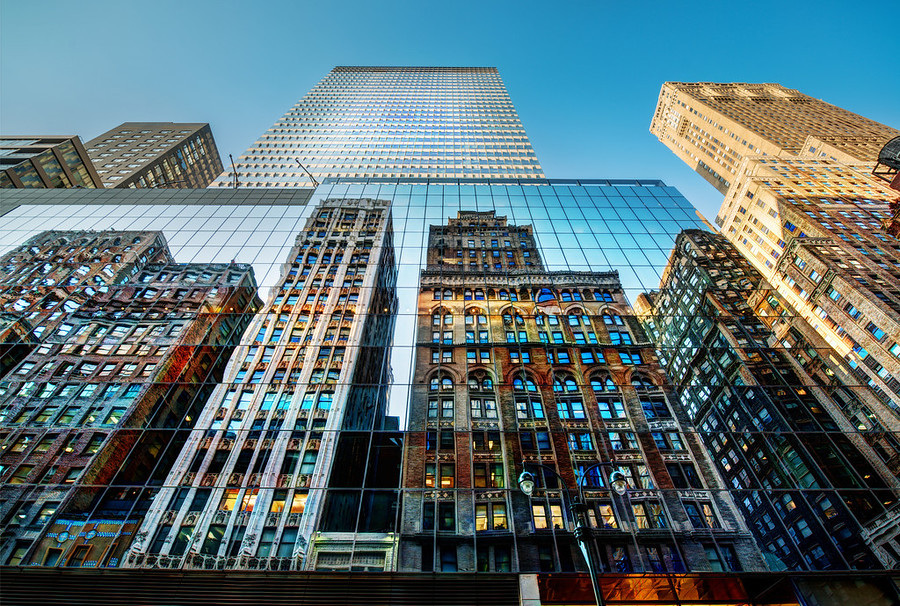
Select 2 photographs (landscape scenes and buildings work best) from Chicago and create a HDR (High Dynamic Range) looking photo. The finished 2 photos will truly not be HDR Photos, but will have the look of an HDR photo.
Step 1
Open Photoshop, and the open up a photo of Chicago you already taken yourself or use one of the photos from folder I shared on Google Classroom. The link to those photos is here: LINK
Step 1
Open Photoshop, and the open up a photo of Chicago you already taken yourself or use one of the photos from folder I shared on Google Classroom. The link to those photos is here: LINK
Step 2
Follow the techniques in the video below on both of these photos.
Follow the techniques in the video below on both of these photos.
Step 3
Save this on your Google drive as Chicago Photo HDR.psd
Now create a Screenshot of your project open in Photoshop with the Layers Panel open. This Screenshot will be saved on the Pictures folder
WORTH 100 Points
Save this on your Google drive as Chicago Photo HDR.psd
Now create a Screenshot of your project open in Photoshop with the Layers Panel open. This Screenshot will be saved on the Pictures folder
WORTH 100 Points
Student Examples
