Macro and Close Up Photography
|
Definition
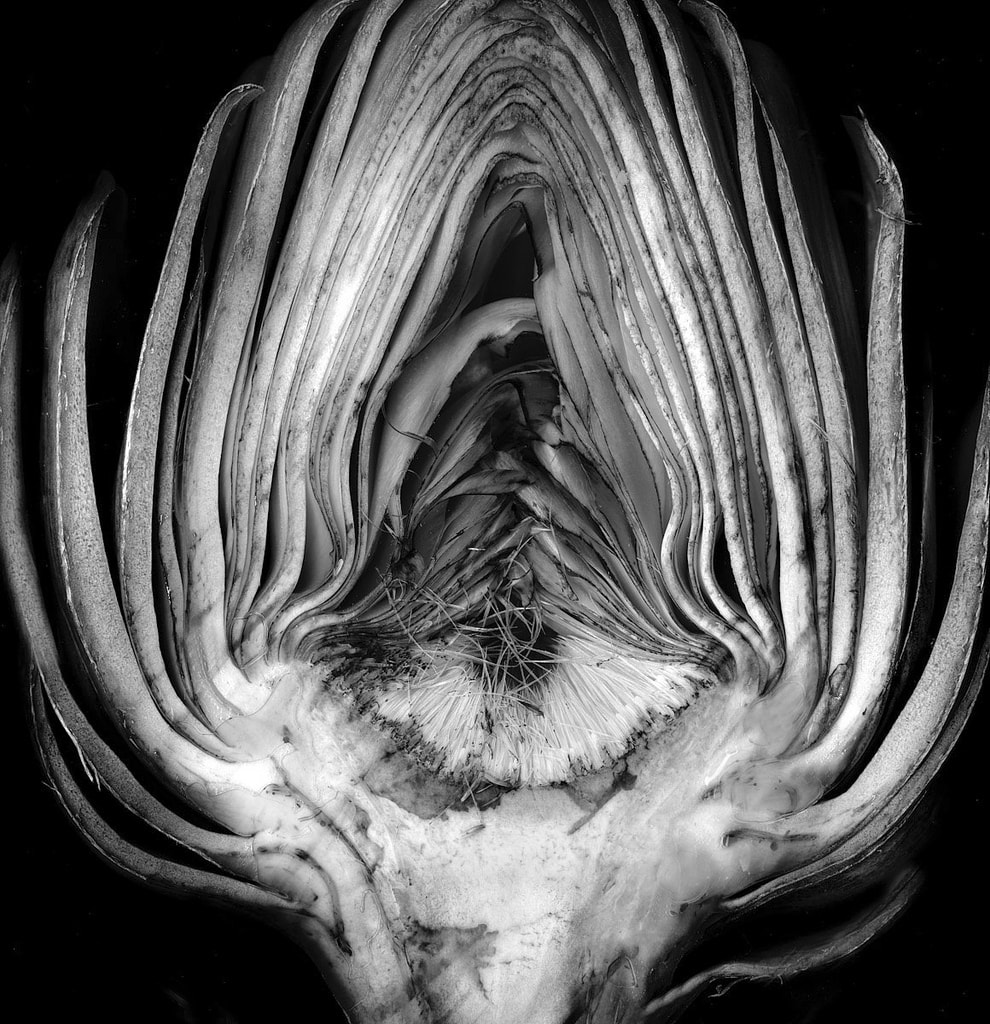
Macro Photography is loosely defined as really close up photography. Using a basic point and shoot digital camera with this setting turned on will let the photographer get really close to the subject, keep an area of the photograph in focus, but quickly fall off out of focus. Directions Photograph 6 to 10 different objects, things inside school using the Macro (really close up) setting on the camera. Take at least 12 to 24 shots TOTAL of these 6 to 10 different objects or things. More and rotate, or change the viewpoint of yourself or the object you photograph to get different looks of this object. Read over this article for ideas on creating effective macro photos Macro Photography Subjects Any small object can be a good subject for macro photography. A good macro photo reveals details and textures in the object that can’t be observed with normal photography or by an undiscerning eye. By definition, macro photography subjects are endless! Because macro photography enhances the details of its subject, nature serves as an excellent subject for them. For photographers just beginning to experiment with macro photography, here are some possible subject ideas: Images for macro photography can be limited only by the photographer’s imagination. While nature provides the most obvious subjects for macro photography, common items around the house are also possible subjects |
Macro Photo Subjects
http://www.lynda.com/articles/macro-photos-plastic-cup#.VCK-ab9UUNI.facebook
Step 1
Take photos of objects in White cube or Black cube with our DSLR camera with the close up lens (Marco ring flash)or one of the Macro iPhone lenses.
Step 2
Download these to your computer (photos on the film card) and then upload to your Google Drive. If you shot the photos with your iPhone, upload these directly to your Google Drive.
Step 3
Now edit these 5 photos you just saved photos using: Adobe Camera Raw. The effects you add and the changes you decide to make on these are up to you.
DON'T make them crazy unrealistic colors or add crazy effects. Keep them pretty close to the original photos color, lighting, etc.
Step 4
Adjust the White Balance, Exposure, Contrast, Highlights, Shadows, Whites and Black sliders like we have been doing all semester. Add Clarity, Vignetting, Sharpening, and Crop photos if needed to enhance the composition. Make at least 1 of the five you will be submitting for Grading a Black and White photo in Adobe Camera Raw.
Step 5
Save all 5 of these as JPG files to your Google Drive folder. Macro 1, Macro 2, etc.
Step 6
Upload all 5 unedited photos and the 5 edited JPG files to Google Classroom for Grading.
WORTH 100 Points
